

Drywall
ADU Drywall Installation & Finishing in Western Washington
Drywall scope for accessory dwelling interiors, from board planning and backing review through taping, texture decisions, and a paint-ready finish. The right sequence depends on the room layout, existing conditions, and the separation details in the project drawings.
Request an estimate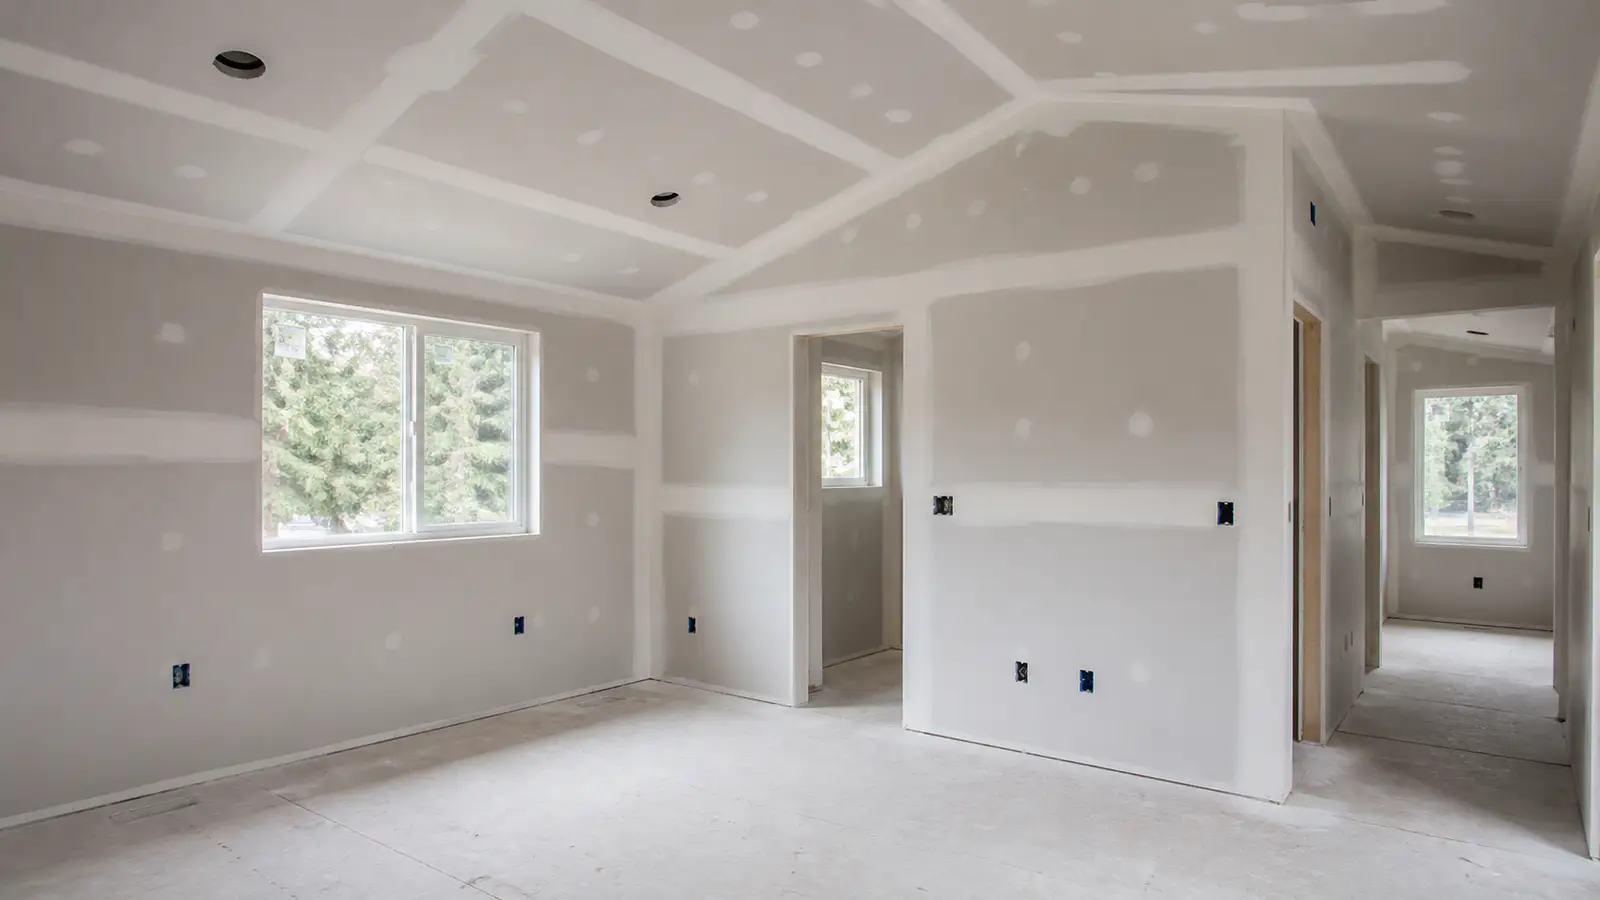
Plan the ADU surface as one connected scope
An accessory dwelling project can include compact rooms, utility areas, sloped ceilings, and transitions around doors or shared walls. A useful drywall brief identifies board locations, backing, access, finish level, and the handoff to primer before work begins, so the finished surfaces are evaluated together rather than as isolated patches.
Coordinate board, seams, and shared-wall details
ADU layouts often place living spaces beside garages, primary homes, or other occupied rooms. The project drawings and local review requirements should determine the assembly and any acoustic or fire-separation details. Drywall installation can then follow that approved scope while keeping penetrations, corners, and finish transitions visible for review.
Finish smaller rooms without losing the larger line
Compact interiors make uneven seams, corner movement, and mismatched texture easy to notice. Taping, skim work, texture matching, and primer preparation should be planned across each connected wall plane. That approach leaves the ADU ready for the selected paint finish without treating a small footprint as a reason to skip surface preparation.
An ADU built as new construction carries its own inspection sequence
An accessory unit built from the ground up has its own framing inspection, its own envelope, and its own separation requirements from the main house, which is a longer sequence than a garage conversion where the shell already exists. On new construction we plan the board and the finish around the inspection milestones on the approved plans, so nothing is closed up before it has been seen.
Frequently asked questions
ADU drywall questions about sequencing and shared walls
Q1What should an ADU drywall estimate include?
Share the floor plan, ceiling conditions, room photos, desired finish, and any separation details supplied by the designer or permitting team. Those details help separate board installation, repairs, finishing, and paint preparation so the requested work is clear before a site review.
Q2Can an ADU combine repairs with new drywall?
Often, yes. Existing areas may need patching or texture blending while new rooms need board, seams, and corner treatment. Reviewing both scopes together helps keep transitions consistent and avoids promising that one finish method will fit every surface in the accessory dwelling.
Q3How should shared-wall questions be handled?
Use the project drawings and the applicable review path as the starting point for any fire or sound separation question. A drywall estimate can identify the surfaces and sequence, while the approved design and inspection requirements determine which assembly belongs in the final scope.
The process
How ADU drywall moves through board installation, seams, and finishing
A short path from the first description of the problem to a clear next step.
Step 1 — Text Photos or Send Plans
Send cell photos of your wall damage or share architectural blueprints for a fast, itemized estimate.
Step 2 — Clean Prep, Zero Dust Escape
We erect zip-wall poly containment zones and run commercial HEPA dust extractors so your living spaces stay spotless.
Step 3 — Final Raking-Light Walkthrough
Before packing up, we inspect every wall and ceiling under 500W grazing lamps alongside you to guarantee 100% optical flatness.
Request an ADU drywall estimate
Tell Solis Interiors what needs attention. This short form collects only what the crew needs to qualify the next conversation.
ADU Drywall Installation & Finishing — let’s look at it
Send photos and the room dimensions; you’ll get a written number back.